tania:
Flour on the table, 'snakes' of fresh dough and quick movements with a table knife: that is exactly the picture I remember of my Italian Nonna making...
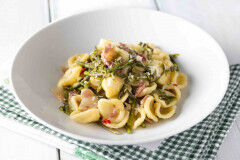
If you're looking for another fresh pasta-making project to conquer this weekend, look no further than the Simple Orecchiette recipe developed by some of the Mamablip chefs, with origins in Southern Italy, the homeland of delicious orecchiette pasta.
Turn any corner in a small Southern Italian corner and you might luck out by finding a little nonna deftly rolling out these simple fresh pasta gems. They make it look easy, after years of practice, and while you won't be as masterful as they are at the beginning, it just takes a wee bit of practice to make beautiful fresh orecchiette that your friends and family will gobble up in no time.
Feeling inspired to learn more amazing traditional Italian fresh pasta dishes? Be sure to check out the Pasta Recipe Index with lots more inspiration and insightful tips and tricks on making homemade pasta today. Don't forget the sauces! Check out the Sauce index for ways to dress those homemade noodles.
Sign up below for the Mamablip newsletter brimming with cooking tips, wine news, and travel ideas today!
Try it with...
Filippo Bartolotta
for 4 servings
Step
1
Of 3
Place semola flour into classic well shape on a clean kitchen surface.
Slowly add water to the well in the center, and using a fork, gently incorporate the flour into the center, in a circular motion.
When all the water is incorporated, add the olive oil, and continue mixing and blending the dough with your hands.
Once liquid has been incorporated, knead dough gently with fingertips (not heel of the hand) to control the kneading process somewhat better.
The dough should reach a smooth, elastic appearance. Shape into a ball, and cover with plastic wrap. Allow the dough to rest 15 minutes.
Step
2
Of 3
Once the dough has rested sufficiently, and gained a very elastic consistency, remove medium-sized pieces of dough from the larger ball.
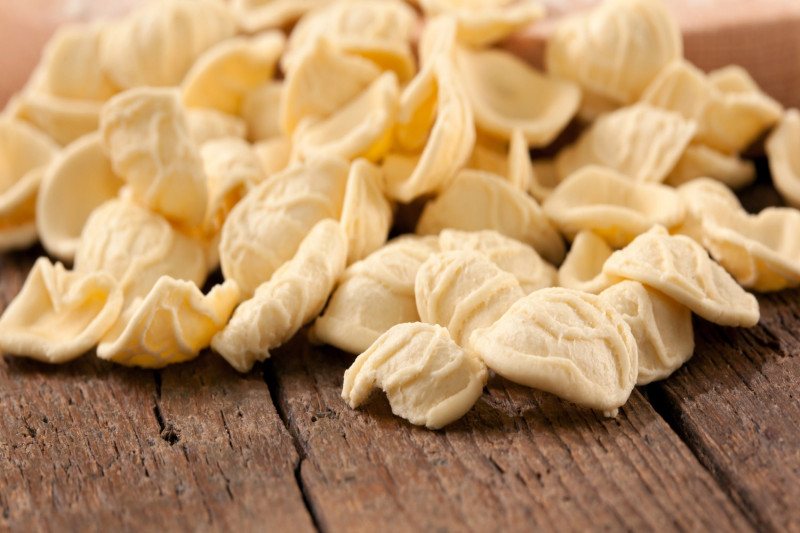
Form each piece into logs that aren't too thin. Once formed into logs, cut each piece into pieces approximately 1cm wide, and using a blunted kitchen knife, drag the piece of pasta across your kitchen surface in order to give it the classic rounded shell-shape of the orecchiette pasta.
With your free hand, hold on to each pasta piece as you're forming the shell-shape, and once it has the initial shape, place each piece onto your thumb and fold the edges back for the final orecchiette shape.
Step
3
Of 3
You may either store the orecchiette in the refrigerator in a closed plastic container for several days, or cook them the same day as you make them.
In this case, place each pasta piece on well-floured tray, and allow to dry for at least 30 minutes. Cook in boiling salted water for about 7-8 minutes.
Serve dressed, and hot.
Try it with...
Filippo Bartolotta
Elegant, modern and bright - a very special bottle of bubbles
View productMontepulciano at its best: elegant style with great complexity.
View productDonnafugata's Tancredi is a wine with an intense ruby red color aged in French barriques. Excellent to pair with meats and game.
View productElegant, modern and bright - a very special bottle of bubbles
View productMontepulciano at its best: elegant style with great complexity.
View productDonnafugata's Tancredi is a wine with an intense ruby red color aged in French barriques. Excellent to pair with meats and game.
View producttania Tuesday 13th of April 2021
Orecchiette at home, what an amazing memory!
Flour on the table, 'snakes' of fresh dough and quick movements with a table knife: that is exactly the picture I remember of my Italian Nonna making orecchiette on a Sunday morning during the holidays. I now love making them for my family